Image Processing
To start working with images in EyesOnIt, click the Image button on the main page of the EyesOnIt Web UI. The Image Processing page will open with a blank area like this:
Adding an Image
To add an image, either drag the image from your desktop, or click in the blank area to select an image. Once you have added an image, you will see the image with the default detection region polygon and the object detection settings user interface:
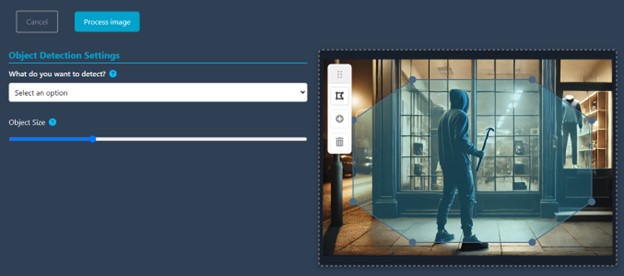
You can adjust the polygon as necessary to change the detection region.
Selecting What to Detect
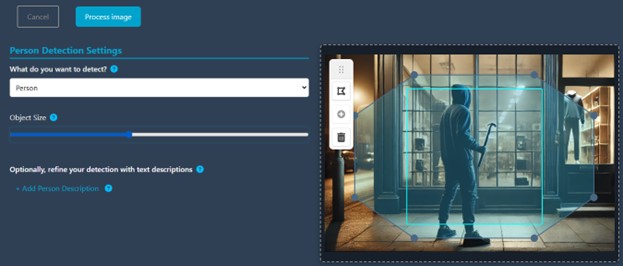
On the left, you will see options to control the object detection. Under “What do you want to detect?”, click the dropdown to select a common object type. This is optional, but if the object type that you want to detect is available in the list, EyesOnIt will typically produce better detection results. For our sample image, we select Person.
Setting the Object Size
You will also see the Object Size setting to the left of your image. When you use the Object Size slider, a light blue box appears over your image to show the value of the Object Size setting. This is shown in the image above. Refer to the Object Size description for more information about this setting.
Processing the Image
With the object type and object size set, you can click Process Image to tell EyesOnIt to run detection based on your settings.
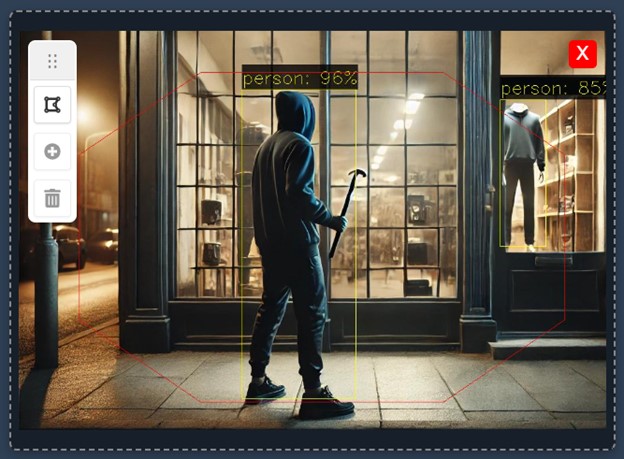
After processing the image with your settings, EyesOnIt returns an image that shows what it detected. In this example, EyesOnIt detected a person in the center of the image with 96% confidence, and a person at the right side of the image with 85% confidence. The lower confidence for the person on the right is because the body has no head, and the object looks like a person but is not an actual person. We will show below how to produce better results for a scenario like this.
To clear the results, click the red X in the upper right corner of the image.
Object Descriptions
To further refine the object detection results, you can add object descriptions. To add an object description, click the Add Person Description link (if you chose vehicle as your object type, the link will say "Add Vehicle Description"). Clicking this button will show a UI area for adding the object description.
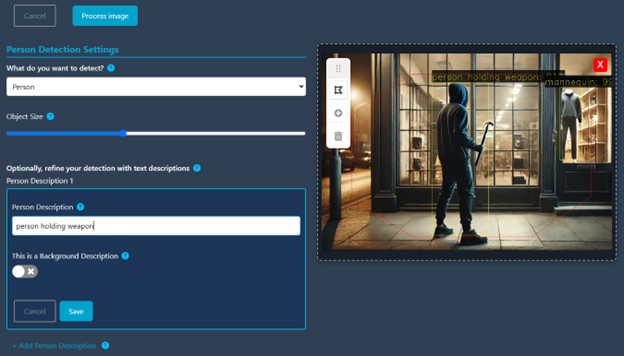
The options for the description are the description text, and a flag indicating whether the description is a background description. In this case, we want to know if EyesOnIt can accurately detect people with weapons and distinguish them from people without weapons. We also don’t want to detect the mannequin in the window as a person. To achieve this, we add “person holding weapon”, “person” and “mannequin” as person descriptions. To help EyesOnIt distinguish between people and the background in the scene, we add “sidewalk window items” as a background description that includes the main objects that appear in the background (items being a general catch-all term). Clicking Process image produces the results below.
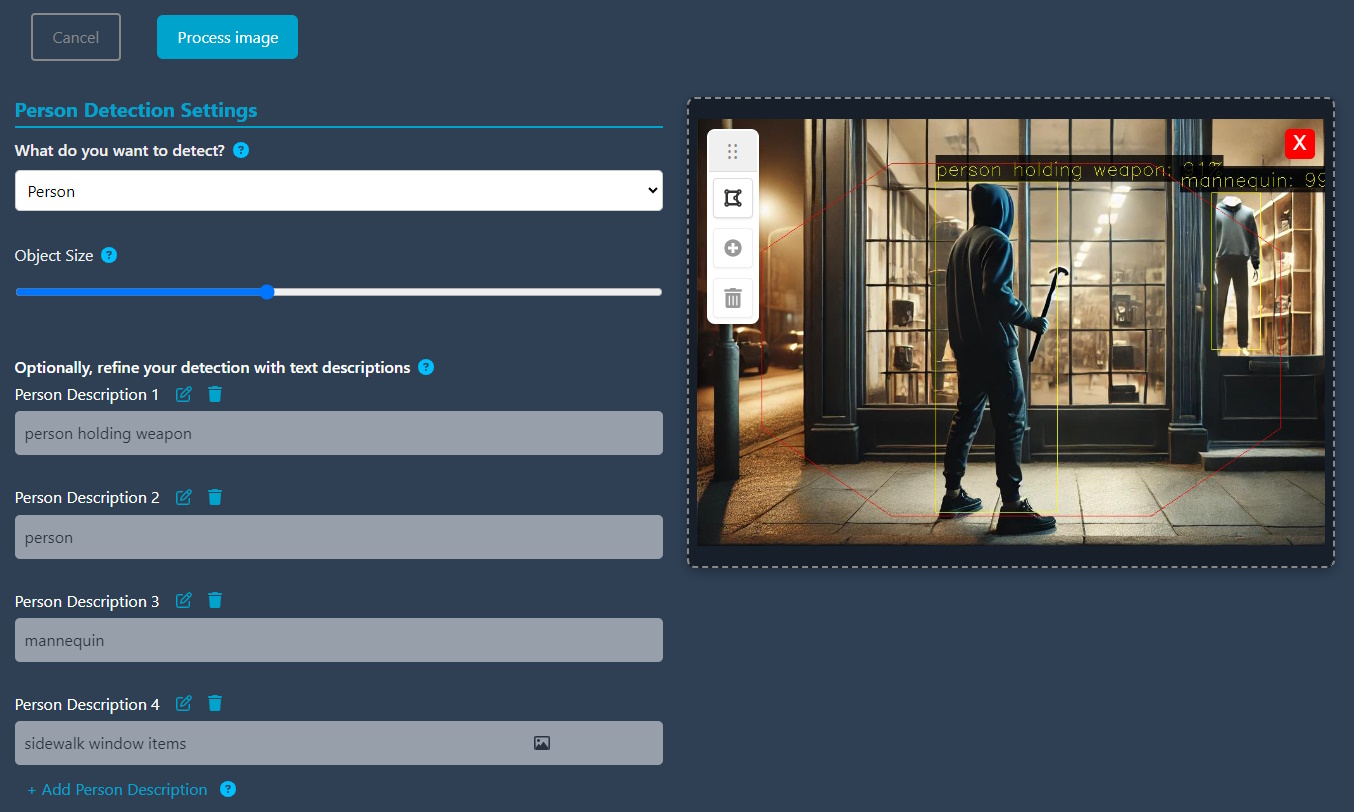
As the image shows, EyesOnIt detects that the person is holding a weapon. It also identifies the mannequin properly.